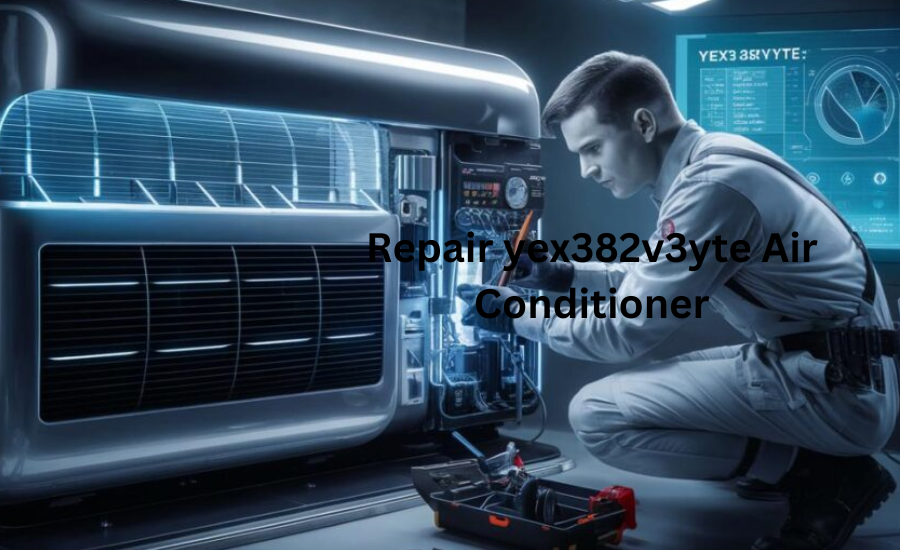
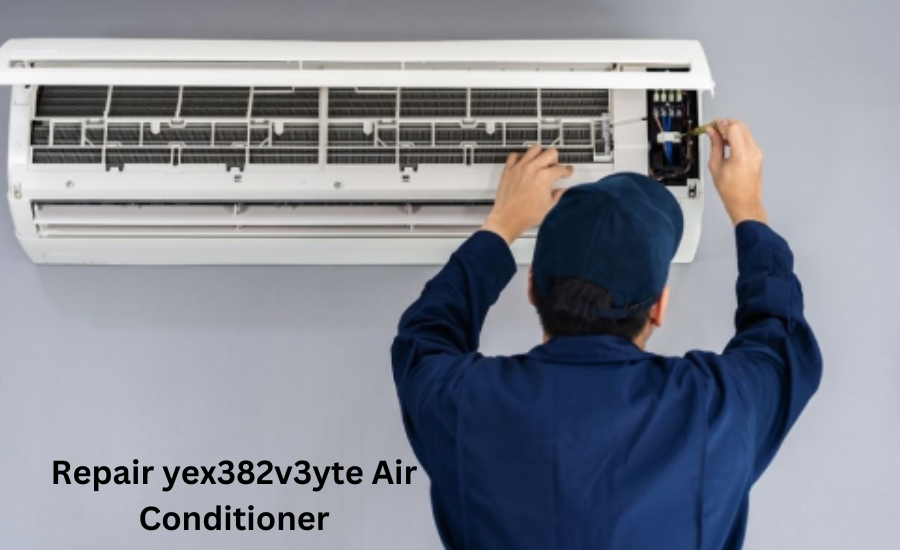
Is your YEX382V3YTE air conditioner no longer delivering the cool comfort you expect? Don’t worry! In this detailed repair guide, we’ll help you identify common issues and provide practical, step-by-step solutions to restore your unit to optimal performance. Whether you’re a DIY enthusiast or need a quick refresher on AC maintenance, this guide has everything you need to troubleshoot and fix your air conditioner effectively.
Key Signs That Your YEX382V3YTE Air Conditioner Needs Attention
Before diving into the repair process, it’s essential to recognize the most common indicators that suggest your air conditioner may be malfunctioning. These symptoms could point to specific problems that require immediate attention:
Lack of Cooling: The unit operates, but it fails to cool the air.
Unusual Noises: You may hear grinding, squeaking, or clunking sounds coming from the unit.
Water Leaks: Pooling water around the base or sides of the unit.
Strange Odors: Unpleasant smells, such as mustiness or burning, while the air conditioner is running.
Frequent On/Off Cycling: The air conditioner turns on and off repeatedly, even when it’s not supposed to.
Weak Airflow: Reduced or inadequate airflow from the air vents.
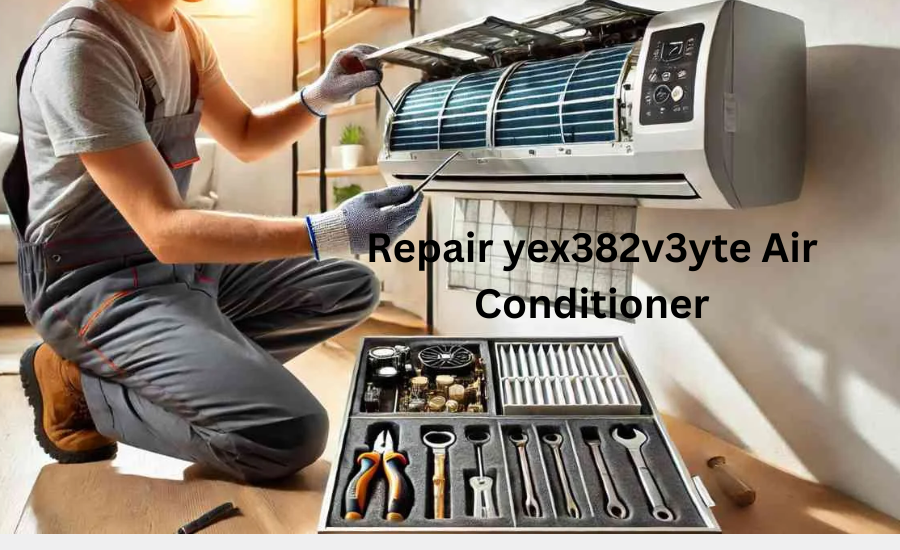
Essential Tools and Materials for Effective Air Conditioner Repair
Before starting any repair work on your YEX382V3YTE air conditioner, it’s essential to gather the necessary tools and materials. Having the right equipment will not only help you perform the repair tasks efficiently but also ensure safety and effectiveness throughout the process. Here’s a detailed look at the tools and materials you’ll need:
Screwdrivers (Phillips and Flat-Head)
A set of screwdrivers, both Phillips and flat-head, is crucial for any air conditioner repair. These tools are used to remove and secure screws when accessing various components of the unit, such as panels, covers, and internal parts. The right screwdriver allows you to work efficiently without damaging screws or components. It’s essential to have a variety of sizes on hand to accommodate different screw types, as air conditioners often use different sizes for different parts.
Tip: Make sure the screwdrivers you use have a comfortable grip, as repairs might take a while. Consider investing in an adjustable screwdriver set for versatility.
Multimeter
A multimeter is an essential tool for diagnosing electrical issues within your air conditioner. It allows you to test the voltage and continuity of the air conditioner’s electrical components, including the thermostat, wires, and motor. A multimeter can help identify if there’s a problem with the electrical connections or if a component like the motor is malfunctioning. This tool can also detect short circuits or faulty wiring, ensuring your unit is electrically safe after the repair.
Tip: If you are unfamiliar with using a multimeter, make sure to consult the user manual or online resources. Understanding how to properly read voltage and continuity readings is vital for safety.
Replacement Parts
Having replacement parts on hand is essential, as some components of your air conditioner may be worn out or damaged and need to be replaced during the repair process. Common replacement parts include:
Air Filters: Over time, filters can become clogged with dust, dirt, and debris, reducing airflow and efficiency. Replacing a dirty or damaged filter can greatly improve the performance of your air conditioner.
Thermostats: If the thermostat is not accurately regulating the temperature, it might need to be replaced. A faulty thermostat can lead to the air conditioner running inefficiently or not cooling properly.
Motor Parts: If the fan or compressor motor is malfunctioning, you may need to replace these components to restore full functionality to your air conditioner.
Tip: Always verify the specific model and part number for your air conditioner to ensure compatibility when purchasing replacement parts. Using the wrong part can cause further damage to the system.
Cleaning Supplies
Keeping your air conditioner clean is crucial to maintaining its performance and efficiency. Here are some cleaning supplies you will need:
Vinegar and Water: This natural cleaning solution is great for removing dirt, grime, and mold buildup from parts like the air filter and coils. The acidity in vinegar helps break down stubborn buildup, ensuring thorough cleaning without damaging sensitive components.
Soft Cloths or Rags: Soft cloths are ideal for wiping down surfaces and cleaning components without scratching or damaging them. Use clean, lint-free cloths to ensure that no debris is left behind on the sensitive parts of your air conditioner.
Coil Cleaner: Specialized coil cleaner is necessary to clean the condenser and evaporator coils, which can accumulate dirt and dust. Regular cleaning of the coils prevents clogs, which can cause overheating or poor cooling efficiency.
Tip: Always allow the parts to dry completely after cleaning, especially the coils and filter, before reassembling your air conditioner to avoid moisture buildup, which could lead to mold growth or electrical damage.
Having these tools and materials ready before beginning the repair will help streamline the process and ensure your YEX382V3YTE air conditioner is repaired properly. By investing in the right equipment, you can not only troubleshoot effectively but also avoid additional damage and unnecessary expenses in the future.
Safety Guidelines to Follow During Your Repair Process
Your safety is the number one priority when working on any air conditioner repair. Taking proper precautions not only protects you from potential injury but also ensures a successful and smooth repair process. Here are essential safety measures you should follow:
Disconnect the Power Supply
One of the most critical safety steps when repairing your YEX382V3YTE air conditioner is to completely disconnect the power supply. Before you begin any work, make sure the unit is turned off at the main power source. Simply switching the unit off with the remote or the thermostat is not enough. To ensure complete safety, you should:
Switch off the circuit breaker that supplies power to the air conditioner.
Unplug the unit if possible. If it’s a window or portable unit, removing it from the power socket is an added safety measure.
Test with a multimeter to confirm there is no electricity running through the unit before you begin any repair tasks.
Cutting off the power supply prevents accidental electrical shocks or short circuits while you work on the unit, especially when dealing with electrical components such as motors, thermostats, or wiring. Always double-check that the power is off before you proceed with any repair work.
Wear Protective Gear
Even though air conditioner repairs are generally straightforward, they can still involve handling sharp parts, electrical components, and cleaning chemicals. Wearing the appropriate protective gear will shield you from potential hazards. Here are some essentials:
Safety Goggles: These will protect your eyes from flying debris, dust, or cleaning chemicals when working with the unit’s internal parts. Flying particles can be a concern when using tools, cleaning the coils, or removing debris.
Gloves: Wearing thick, durable gloves is essential to protect your hands from sharp edges, hot surfaces, or electrical hazards. Gloves can also help keep your hands clean, especially when handling components that might have dirt or refrigerant on them.
Closed-Toe Shoes: Always wear sturdy, closed-toe shoes when working on an air conditioner. If you drop any tools or parts, the shoes will offer protection from injuries.
Long Sleeves and Pants: To avoid injuries from sharp components, it’s a good idea to wear long sleeves and pants, especially when handling internal parts such as coils or screws.
By wearing the appropriate gear, you’ll minimize the risk of injury, whether from physical damage, electrical hazards, or exposure to potentially harmful substances.
Follow the Manufacturer’s Instructions
Every air conditioner model has specific requirements for proper handling, repair, and maintenance. Before you begin any work, thoroughly read the user manual for your YEX382V3YTE unit and any specific guidelines provided by the manufacturer. This ensures you:
Understand the repair process: The user manual often provides valuable insights into common repair needs, component locations, and troubleshooting methods specific to your model. Following these instructions ensures you’re taking the right approach to repair.
Avoid warranty voiding: If your unit is still under warranty, some manufacturers may void the warranty if certain repair protocols aren’t followed. By sticking to the recommended methods, you ensure you don’t lose any manufacturer-backed protections.
Properly handle refrigerant: Air conditioners use refrigerant to cool the air. Improper handling of refrigerant or failure to follow manufacturer guidelines can lead to refrigerant leakage, which is both harmful to the environment and dangerous to handle.
Use the right parts: The manufacturer’s manual will specify the correct replacement parts, ensuring compatibility and preventing further damage to your system.
Additionally, if you encounter any repair steps that are outside your comfort zone or knowledge, it’s best to contact a professional technician. Some repairs, especially those involving refrigerant or advanced electrical work, may require specialized tools or certifications.
By following these safety precautions, you ensure that the repair work is not only effective but also safe for both you and your air conditioning unit. Prioritize safety first, and the rest of the repair process will be much smoother and more successful.
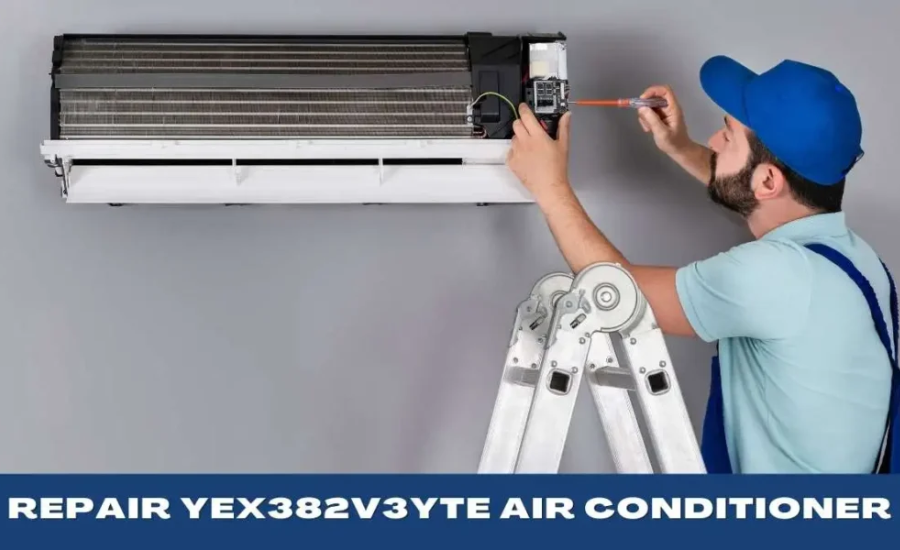
Step-by-Step Instructions for Troubleshooting and Repairing Your Air Conditioner
Here’s a detailed breakdown of how to repair your YEX382V3YTE air conditioner. We’ve broken it down into manageable steps that will guide you through identifying and fixing common issues:
Step 1: Diagnosing the Problem
Verify the Power Supply
First, check if the air conditioner is properly plugged in and that the circuit breaker hasn’t tripped. Use a multimeter to measure the voltage at the power outlet to ensure it’s providing the correct power.
Inspect the Thermostat
Check if the thermostat is set correctly. Make sure it’s set to the desired temperature and replace the batteries if the unit uses them.
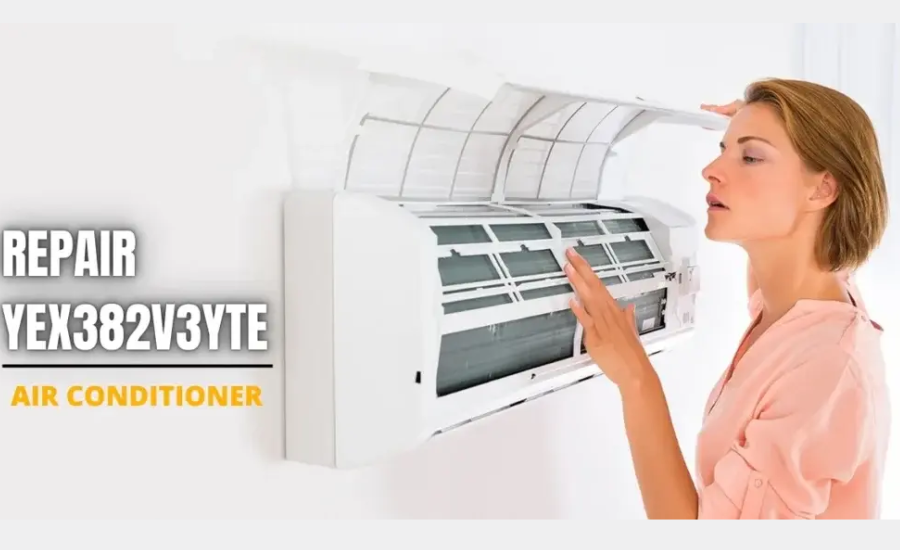
Step 2: Cleaning or Replacing the Air Filter
Access the Air Filter
Open the front panel of your unit to locate the air filter. This part is crucial for maintaining air quality and airflow efficiency.
Clean the Filter
If the filter is dirty, clean it by washing it with a mixture of water and vinegar. For heavily clogged filters, it’s best to replace them with a new one to maintain optimal airflow.
Step 3: Checking for Refrigerant Leaks
Inspect Refrigerant Lines
Examine the refrigerant lines for any oil stains or signs of leakage. Leaks can lead to lower cooling efficiency and might require professional assistance to fix.
Test Refrigerant Levels
Using a refrigerant gauge, check the refrigerant levels in your air conditioner. If the levels are low, you will need to have the system recharged by a professional.
Step 4: Cleaning the Condenser and Evaporator Coils
Clean the Coils
Dirt and debris can clog the condenser and evaporator coils, causing inefficient cooling. Carefully clean both sets of coils using a soft brush and a coil cleaner to remove dirt buildup.
Inspect for Damage
Check for bent fins or any visible damage to the coils. If you find any, use a fin comb to straighten the fins and ensure proper airflow.
Step 5: Evaluating the Fan and Motor
Check the Fan Blades
Examine the fan blades for any blockages or damage. If the fan is obstructed, it won’t circulate air properly, leading to poor cooling performance.
Test the Motor
Listen for any unusual sounds from the motor, such as grinding or rattling. Use a multimeter to check for electrical continuity. If the motor is damaged, it may require replacement.
Step 6: Dealing with Water Leaks
Clear the Drain Line
The drainage system can become clogged over time, leading to water buildup around your air conditioner. Use a vacuum or pipe cleaner to clear any blockages in the drain line.
Check the Condensate Pump
If the air conditioner has a condensate pump, inspect it for proper operation. If it’s malfunctioning, you may need to replace it to prevent further water leakage.
By following these detailed steps, you can troubleshoot and repair your YEX382V3YTE air conditioner, ensuring it operates efficiently and effectively. Remember, while some issues can be resolved with basic tools and knowledge, others may require professional help, especially when dealing with refrigerant or complex electrical components.
FAQs about YEX382V3YTE Air Conditioner Repair
Q: What should I do if my YEX382V3YTE air conditioner is not cooling the room?
A: If your air conditioner is running but not cooling, it could be due to a dirty air filter, low refrigerant levels, or a faulty thermostat. Begin by inspecting the filter and either cleaning it or replacing it if necessary. Then, inspect the refrigerant lines and ensure the thermostat is set correctly. If the problem continues, you might need to seek professional help.
Q: How often should I clean or replace the air filter in my air conditioner?
A: It’s recommended to clean or replace the air filter every 1 to 3 months, depending on usage. A clogged filter can restrict airflow, reduce efficiency, and worsen indoor air quality.
Q: What are the signs that my YEX382V3YTE air conditioner has a refrigerant leak?
A: Signs of a refrigerant leak include reduced cooling performance, ice buildup on the coils, and unusual hissing sounds. If you suspect a refrigerant leak, it’s best to call a professional technician, as handling refrigerant requires specialized equipment and knowledge.
Q: How can I tell if the motor in my air conditioner needs to be replaced?
A: If you hear unusual sounds like grinding or rattling from the motor, or if the fan isn’t working properly despite the power being on, the motor may be faulty. Use a multimeter to test for electrical continuity. If the motor fails the test, it needs to be replaced.
Q: Can I fix water leaks myself?
A: Water leaks are often caused by clogged drain lines or malfunctioning condensate pumps. You can clear blockages in the drain line using a vacuum or pipe cleaner. However, if the condensate pump is damaged, it may need to be replaced by a professional.
Q: Is it safe to handle refrigerant when repairing the air conditioner?
A: Handling refrigerant should only be done by trained professionals due to environmental and safety concerns. If you suspect low refrigerant levels or a leak, it’s best to hire a certified technician.
Conclusion
Repairing your YEX382V3YTE air conditioner is achievable with the right tools, materials, and safety precautions. Common issues like poor cooling, strange noises, and water leaks can often be fixed through DIY methods such as cleaning the air filter, inspecting refrigerant levels, and cleaning coils. It’s essential to prioritize safety by disconnecting the power, wearing protective gear, and following the manufacturer’s guidelines. While most repairs can be done independently, some problems, like refrigerant leaks or motor issues, may require professional help. By following the troubleshooting steps, you can restore your air conditioner to full functionality, ensuring efficient cooling and comfort.
Read Next: knottybird666ix